Posts

Showing posts with the label Accounts

Chanakya ERP Update Release 1.1.1.9

Image
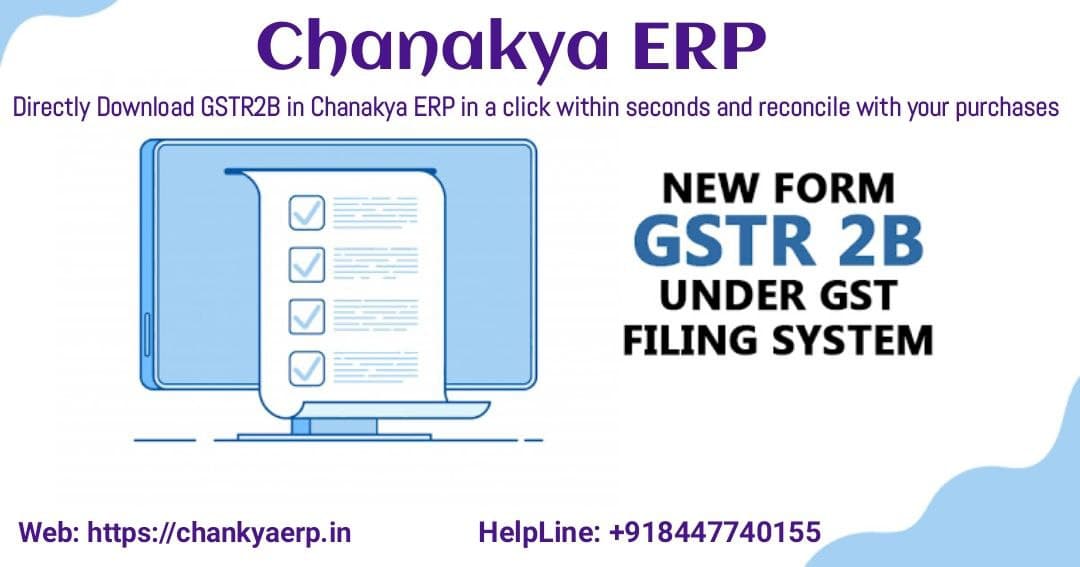
๐—ก๐—ผ๐˜„ ๐——๐—ผ๐˜„๐—ป๐—น๐—ผ๐—ฎ๐—ฑ ๐—ฎ๐—ป๐—ฑ ๐—ฅ๐—ฒ๐—ฐ๐—ผ๐—ป๐—ฐ๐—ถ๐—น๐—ฒ ๐—š๐—ฆ๐—ง๐—ฅ๐Ÿฎ๐—• ๐—ถ๐—ป ๐—ฎ ๐—ฐ๐—น๐—ถ๐—ฐ๐—ธ ๐˜„๐—ถ๐˜๐—ต๐—ถ๐—ป ๐˜€๐—ฒ๐—ฐ๐—ผ๐—ป๐—ฑ๐˜€  For More Query/Support, Feel free to Generate Ticket or Call us on +91 8447740155 Thank You !

Chanakya ERP Update Release 1.1.1.2

Image
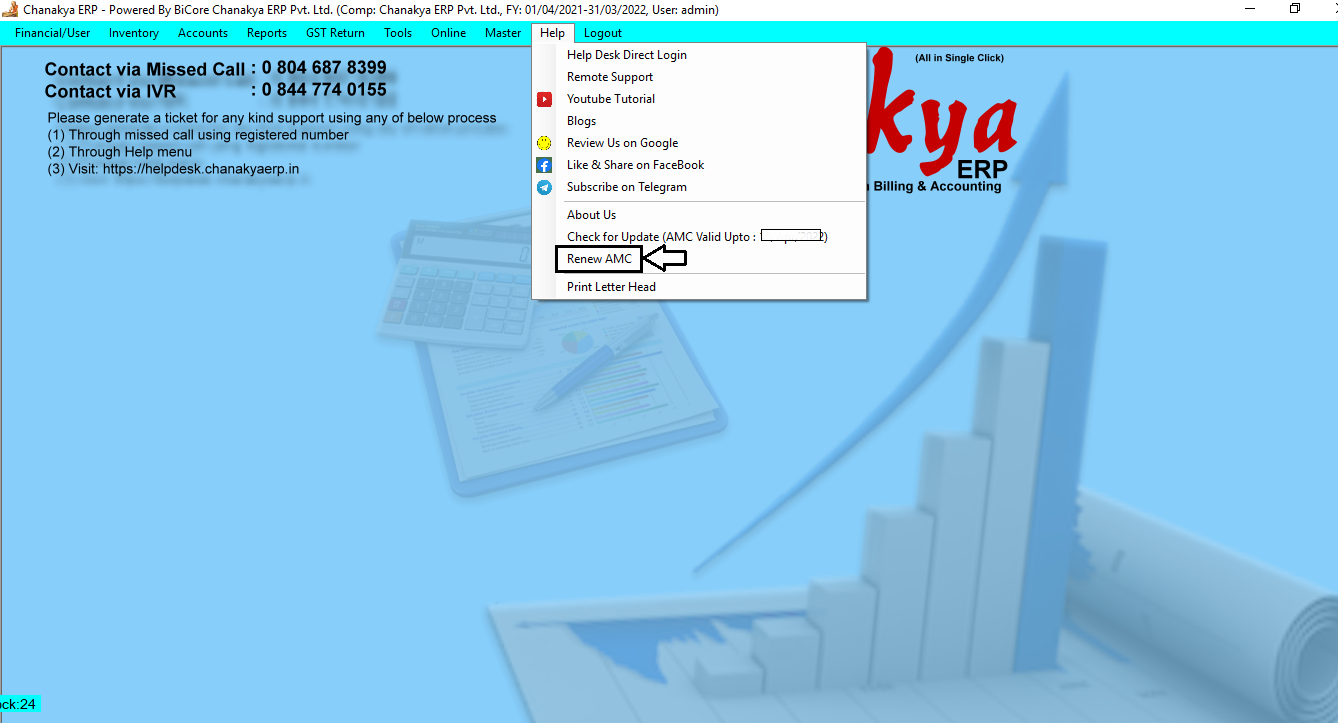
  Online Payment Module Implemented in Chanakya ERP Now Easily Renew AMC Through Online Payment by Following these Few Steps STEP 1:- Click on Help Menu to see the Module of Renew AMC, Click on Renew AMC STEP 2:- Click on Renew Now, A Pop-up will open which will show you the benefits of AMC Renewal and your Due date STEP 3:-  You will find the AMC Expiry date with Number of Years Renewal, According to that Pricing will Fetch, Click on Generate Order and Pay Online. STEP 4:-  Click on the Confirmation Message, If you want to Proceed for Transaction then Click on "Yes", If Not then "No" STEP 5:- Now you can see Order Information, where Order No, Order date, Order Value and Payment Link will fetch, You can Copy the Payment link and Paste to Your Desired Browser or directly Click on "Pay Now" button to Open the Link in Default Browser. NOTE:- You will get the Payment Link Via Email and SMS, where You Can Pay through Mobile also while Clicking on the Link. ...

Import Account Voucher Help Guide

Image
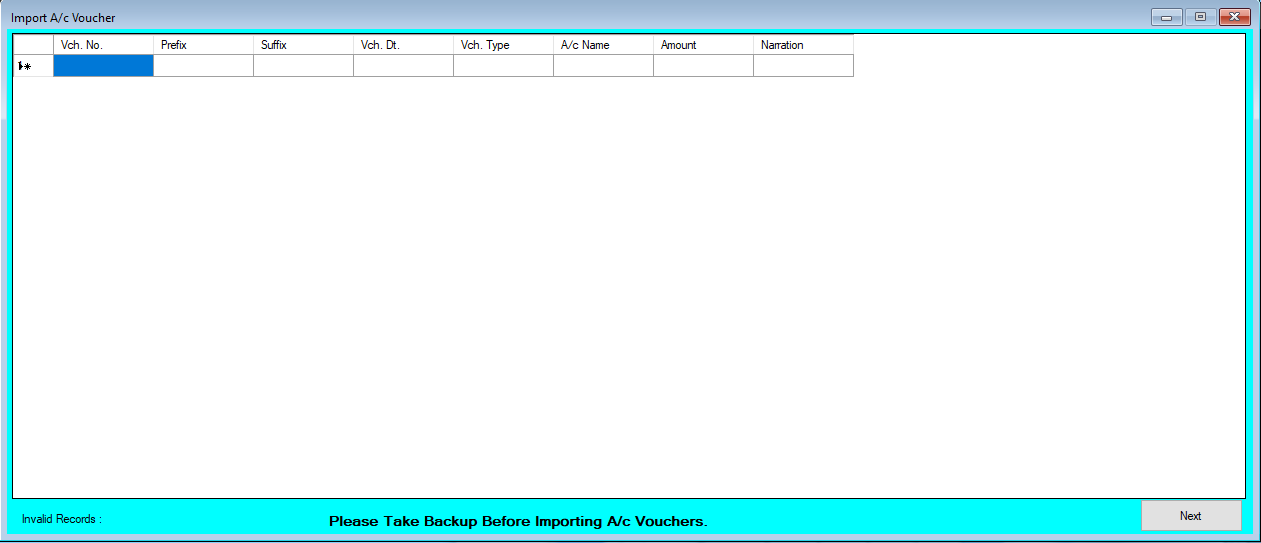
How to Import Account Voucher Through Excel in Chanakya ERP Import Account Voucher Click on  Import A/c Voucher  in  Master Menu  to open Import Account Voucher option (as shown in below image) Data Prepared in  Excel  could be easily transferred through   "Copy and Paste"  option by  Right Click  option on any Column to  Paste  data in  "Bulk"  (as shown in below image) After   Paste  of data through  Excel,  data can be  Viewed  in this window (as shown in below image) Error Records  can be check at  Remarks  column ( while scrolling Right to the screen ), At bottom of the Screen you can find Invalid Records , as shown in below image Note:  Invalid A/c Name, Duplicate Voucher No.,  and Invalid Voucher Type  are common error which occur during import. For this type of error you first Enter  Correct details   (According to Software A/c Mas...

Import Account Master Help Guide

Image
How to Import Account Master with Opening Balance Through Excel in Chanakya ERP Import Account Master Click on  Import A/c Master  in  Master Menu  to open Import Account Master option (as shown in below image) Opening Balance can be Imported through Excel Either it is " Existing Party" or " New Party" , in which Dr amount will be indicated in "(-)" and Cr. Amount will be indicated in "(+)",  as shown in below image Data Prepared in  Excel  could be easily transferred through   "Copy and Paste"  option by  Right Click  option on any Column to  Paste  data in  "Bulk"  (as shown in below image) After   Paste  of data through  Excel,  data can be  Viewed  in this window (as shown in below image) Error Records  can be check at  Remarks  column ( while scrolling Right to the screen ), At bottom of the Screen  you can find Account as shown in below image ...

Reverse Charge Invoice (RCM) Help Guide

Image
How to Create/Modify/Cancel Reverse Charge Purchase Invoice (RCM) in Chanakya ERP Create Reverse Charge Invoice (RCM) Click on Reverse Charge Invoice  in  Accounts Menu  to open Reverse Charge Purchase Invoice option (as shown in below image). Invoice Number  ( which is Generated Automatically or can be set in  Document Number Settings ),  Invoice Date  (select the date of RCM Purchase Invoice), as shown in below image Press "F12" to Select Cr. A/c . and Press "F12" to Select Dr. A/c for Purchase for Reverse Charge Purchase Invoice (RCM) , as shown in below image Enter Item Name , HSN/SAC code , Units , Quantity , Rate & Etc ., fill other details. You can Add Items and their Total value , GST value, Net value will be displayed at bottom of screen. Remarks/Narration can be added Against Reverse Charge Purchase Invoice, Click on Save button to view the Changes, as shown in below image Modify Reverse Charge Purchase Invoice Press  "F12" ...
Export Data to Third Party Software/ERP Help Guide

Image
How to Export Data to Third Party Software/ERP in Chanakya ERP You Should Know ! Chanakya ERP is a fully loaded GST Enabled Accounting software. You don't need any Third Party Software or ERP to Manage your Books/Accounting. But, if still you want/need to export data to any third party software then this feature will help you to Export Data to Third Party Software like Tally etc. You can follow the below Process as Explained here. Export Data to Third Party Software/ERP Click on  Export data to Third Party Software/ERP  in  Accounts Menu  to open Export to Third Party Software/ERP option (as shown in below image). Check Box is Mentioned to each part of Master Menu Select the Part which you want to Export and can be Exported as Opening in A/c Master & Item Master ( With Opening Date ),  Party/Account Master , Item Master and For  Vehicle Segment, Vehicle Master Can be also Exported (as shown in below image) Below Master Menu you will get Transactio...

GSTR1 Filling Help Guide

Image
How to File GSTR1 in Chanakya  ERP  Without login GST Portal

Money Receipt B2B Help Guide

Image
How to Create/Modify/Delete Money Receipt B2B Voucher in Chanakya ERP Money Receipt B2B Click on  Money Receipt B2B  in  Accounts Menu  to open Money Receipt B2B option (as shown in below image). Receipt Number  ( which is Generated Automatically or can be set in Document Number Settings ),  Receipt Date  (select the date of Receipt from Buyers) and Other column details ( Select Party .,  A/c Balance , Receipt Amt . Receipt Type , Bank Name Etc .) as shown in below image  Click on Select Party Column and Press "F12" Key to open Buyer details in Pop-up window to View all Party/Buyer details, You can also add Party details while Pressing "F12" Key on Search Box   option, as shown in below image Create Party Master windows will open, where you have to Make Entry for Party Type Buyer as shown in below image Double-Click or Select the Party/Buyers details to View the Party Details in Money Receipt B2B , as shown in image below Select...