Posts

Showing posts with the label Salesman

Chanakya ERP Update Release 1.1.2.0
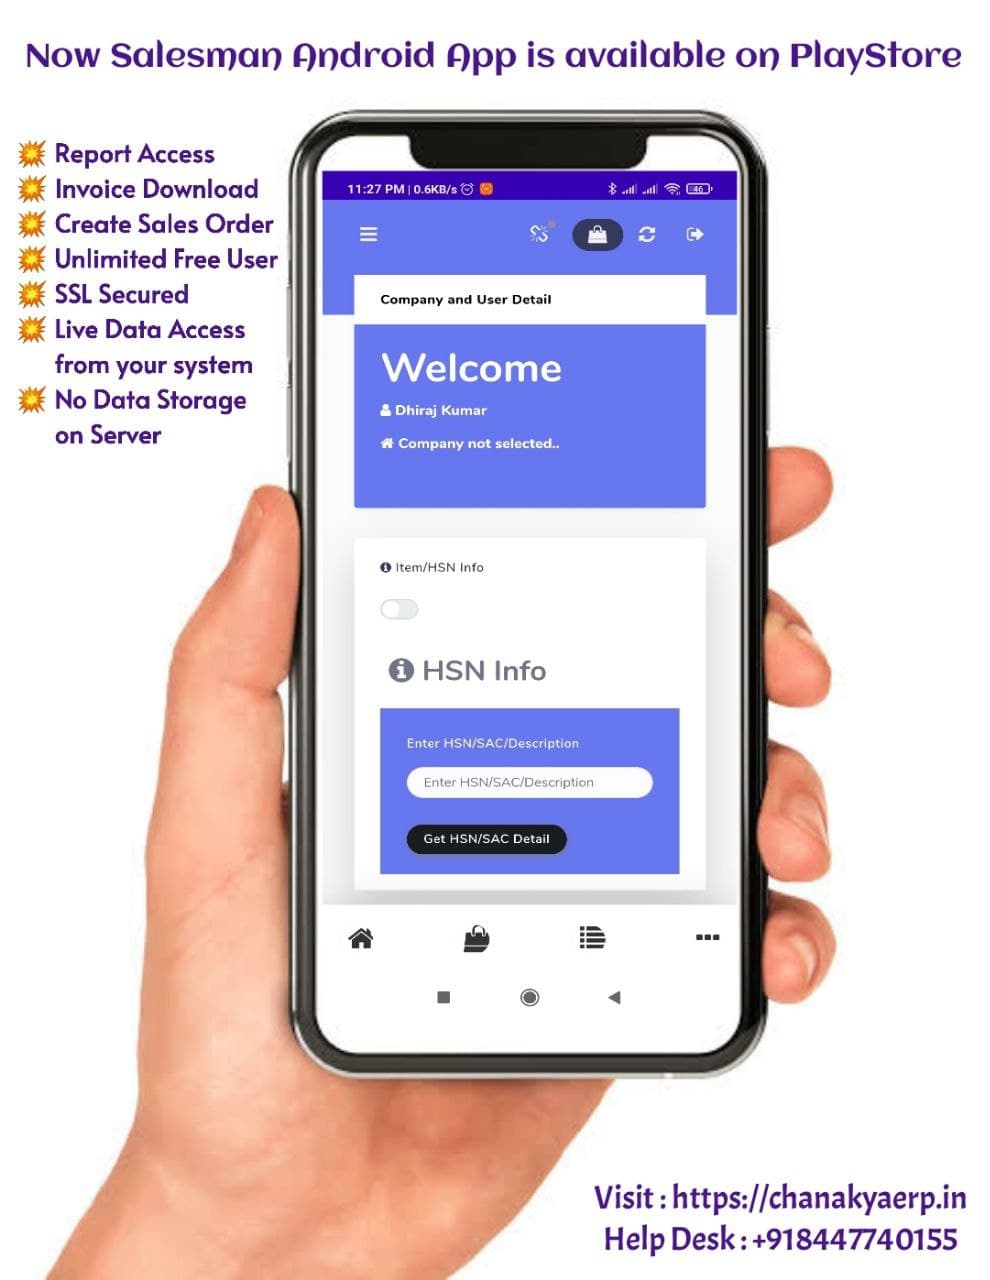
Image
Features Updated in Chanakya ERP Salesman Android App is Now Available on Google Play Store . Sync all our data and Go online, With hassle free Online Ordering Generate Sales Order from Customer Location and Sync Sales Order at your Billing Location and Send Invoices on Whatsapp of Customer, in a single Click. Click on the Link Below to Download ChanakyaERP Online Data Access App.   https://play.google.com/store/apps/details?id=in.chanakyaerp.online You can also Send App link on Whatsapp For More Query/Support, Call us on +91 8447740155 Thank You !

Sales Order(B2B) Help Guide

Image
How to Create /Modify/Cancel a Sales Order(B2B) in Chanakya ERP Create Sales Order (B2B) Entry Click  on  Inventory Menu Click  on  sales Order (B2B) A new window will popped up  Enter  Your  Order Date  -  (Current Date) Purchase Number  will be Created  Automatically Billing Group will be selected by user (By clicking on Drop Down Button), as shown in below image Salesman details can be selected by Pressing "F12" on Salesman Box, A new Window will Pop-Up where all the Created List of Salesman will be fetched . Either Press "Enter Key" or Click on "Select Button" to fetch the details of Salesman, as shown in image below For Selecting Buyer details, Press "F12" to select Buyers Details from party List or Click on Three Dots (...) Beside Box to open party list, as shown in below image By Selecting Particular Buyers , Details will Automatically Fetch with A/c Balance in Cr./Dr. , as shown in below image You can also ...

Salesman Master Help Guide

Image
  How to Create/Modify/Delete Salesman in Chanakya ERP Create/Add New Salesman Click on  Salesman Master  in  Master  Menu to open Salesman master option as shown in below image. Enter/select appropriate Information/Value in field shown in above image. Description of each field is given below. Salesman Code   (*) : Enter an  unique code  for party which you want to create like 1,2,3 or short form of Salesman name etc. Salesman Name (*) : Enter the name of Salesman as their registered name. Address  : Enter address. City  :  Enter city name . Pin Code  : Enter 6 digit pin code. District  : Enter district name. State   (*) : Select correct state name.  Phone No.  : Enter Phone No. Mobile No.  : Enter 10 digit valid Mobile No.  Email Id : Enter correct Email Id. PAN No.  : Enter PAN No. of Salesman. Status (*)  : Select  "Active"  as status for create new Salesman. Now Click on...